MCP 서버 구축 및 사용하기
MCP 서버 구축 및 사용하기
이전 포스팅에서는 MCP(Multitool Command Protocol)에 대해 소개하고, 이미 구축된 MCP 서버를 Claude Desktop에서 활용하는 방법을 알아보았습니다.
2025.03.31 - [IT/AI] - Claude Desktop 으로 MCP 이용해 보기
이번 글에서는 직접 MCP 서버를 구축하고, 날씨 정보를 제공하는 서버를 만들어 Claude Desktop과 연동하는 방법까지 알아보겠습니다.
기상 정보 MCP 서버 만들기
미국 기상청(NWS)의 공개 API를 이용하여, 특정 지역의 기상 알림(alerts) 및 날씨 예보(forecast)를 받아오는 MCP 서버를 만들어보겠습니다.
[UV 설치]
먼저 아래 명령을 실행하여 uv 를 설치합니다.
powershell -ExecutionPolicy ByPass -c "irm https://astral.sh/uv/install.ps1 | iex"
uv 는 rust 로 작성되어있어서 python 기반의 pip 보다 속도가 빠릅니다.
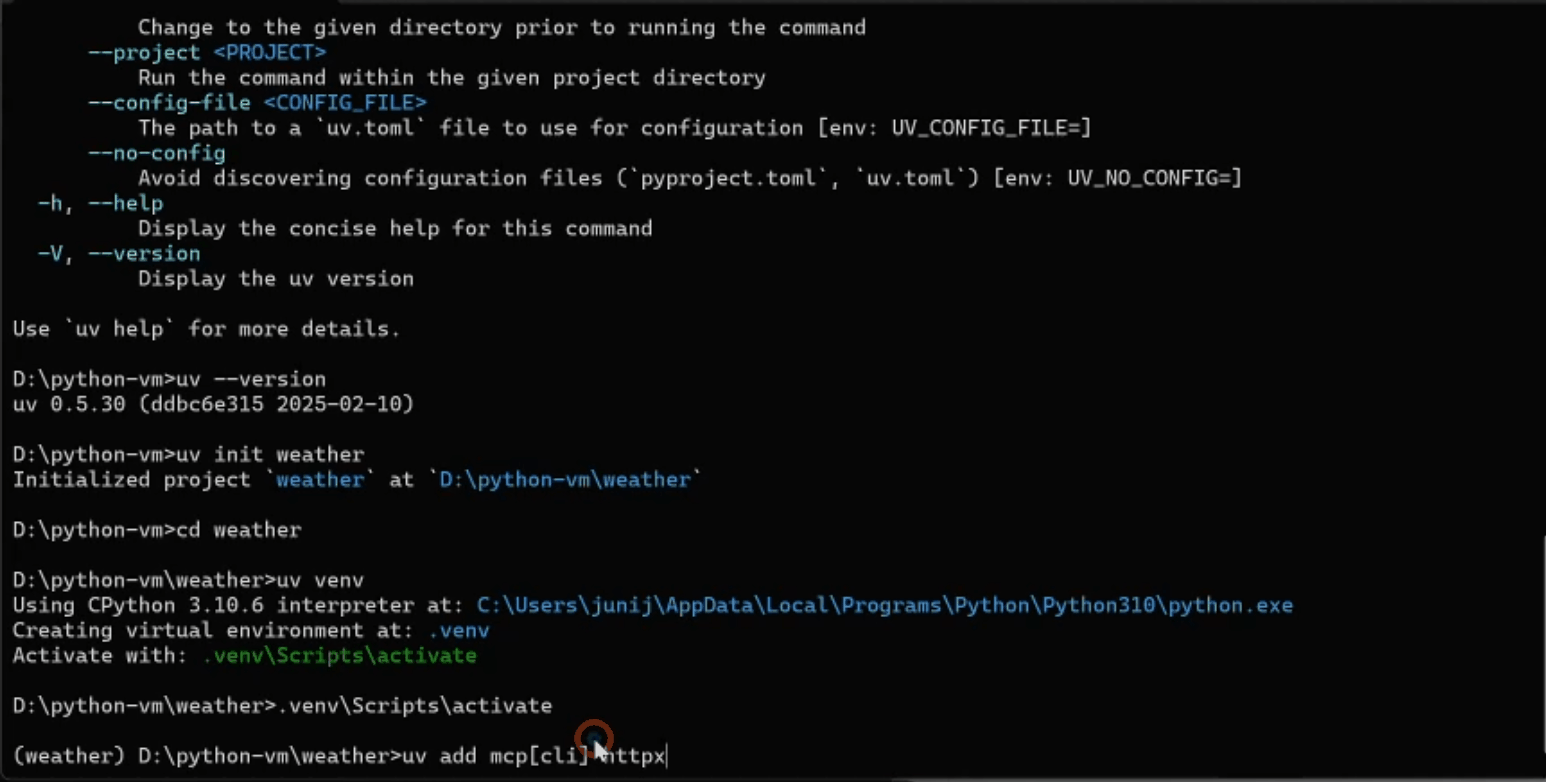
[프로젝트 초기화 및 가상환경 만들기 / 패키지 설치]
아래의 명령으로 폴더를 만들고 가상환경을 활성화 합니다.
# 폴더 생성 및 이동
uv init weather
cd weather

# 가상환경 생성 및 활성화
uv venv
.venv\Scripts\activate

# mcp, httpx 설치
uv add mcp[cli] httpx
uv 명령을 이용하면 설치가 정말 빨리됩니다.
weather.py 파일을 만들고 아래와 같이 코딩합니다.
설명은 주석으로 대신합니다.
weather.py
from typing import Any
import httpx
from mcp.server.fastmcp import FastMCP

# FastMCP 서버 초기화 (서비스 이름: "weather")
mcp = FastMCP("weather")

# NWS(미국 기상청) API 기본 URL 및 User-Agent 헤더 정의
NWS_API_BASE = "https://api.weather.gov"
USER_AGENT = "weather-app/1.0"

async def make_nws_request(url: str) -> dict[str, Any] | None:
    """NWS API에 요청을 보내고 결과를 반환하는 비동기 함수."""
    headers = {
        "User-Agent": USER_AGENT,
        "Accept": "application/geo+json"
    }
    async with httpx.AsyncClient() as client:
        try:
            response = await client.get(url, headers=headers, timeout=30.0)
            response.raise_for_status()  # HTTP 오류 발생 시 예외 발생
            return response.json()  # JSON 응답 반환
        except Exception:
            return None  # 오류 발생 시 None 반환

def format_alert(feature: dict) -> str:
    """기상 알림 데이터를 사람이 읽기 쉬운 문자열로 변환."""
    props = feature["properties"]
    return f"""
Event: {props.get('event', 'Unknown')}
Area: {props.get('areaDesc', 'Unknown')}
Severity: {props.get('severity', 'Unknown')}
Description: {props.get('description', 'No description available')}
Instructions: {props.get('instruction', 'No specific instructions provided')}
"""

@mcp.tool()
async def get_alerts(state: str) -> str:
    """주(미국 2자리 코드)의 기상 알림을 가져옵니다.

    Args:
        state: 예) CA, NY 와 같은 미국 주 코드
    """
    url = f"{NWS_API_BASE}/alerts/active/area/{state}"
    data = await make_nws_request(url)

    # 데이터가 없거나 features가 없을 경우
    if not data or "features" not in data:
        return "Unable to fetch alerts or no alerts found."

    # 알림이 없는 경우
    if not data["features"]:
        return "No active alerts for this state."

    # 각 알림을 포맷해서 문자열 리스트로 저장
    alerts = [format_alert(feature) for feature in data["features"]]
    return "\n---\n".join(alerts)  # 알림들 사이에 구분선 삽입하여 반환

@mcp.tool()
async def get_forecast(latitude: float, longitude: float) -> str:
    """특정 위치(위도/경도)의 날씨 예보를 가져옵니다.

    Args:
        latitude: 위도
        longitude: 경도
    """
    # 예보 정보를 가져오기 위해 우선 포인트 API를 호출
    points_url = f"{NWS_API_BASE}/points/{latitude},{longitude}"
    points_data = await make_nws_request(points_url)

    if not points_data:
        return "Unable to fetch forecast data for this location."

    # 포인트 응답에서 forecast URL 추출
    forecast_url = points_data["properties"]["forecast"]
    forecast_data = await make_nws_request(forecast_url)

    if not forecast_data:
        return "Unable to fetch detailed forecast."

    # 예보 데이터를 사람이 읽기 쉬운 포맷으로 구성 (최대 5개 기간)
    periods = forecast_data["properties"]["periods"]
    forecasts = []
    for period in periods[:5]:
        forecast = f"""
{period['name']}:
Temperature: {period['temperature']}°{period['temperatureUnit']}
Wind: {period['windSpeed']} {period['windDirection']}
Forecast: {period['detailedForecast']}
"""
        forecasts.append(forecast)

    return "\n---\n".join(forecasts)

if __name__ == "__main__":
    # 서버 실행 (stdio 방식으로 FastMCP 서버 시작)
    print("Start Weather Server!")
    mcp.run(transport='stdio')
위코드를 보면 알 수 있듯이 @mcp.tool() 을 붙이면 해당 함수를 FastMCP 서버에서 외부 명령으로 호출할 수 있게 됩니다.
[서버 실행하기]
아래 명령으로 서버를 실행합니다.
uv python weather.py
터미널에 Start Weather Server! 메시지가 나오면 서버가 잘 실행된 것입니다.
구축된 서버 사용하기
구동된 cmp 서버를 Claud Desktop 에서 사용해봅니다.
Claud Desktop 에서 파일>설정>개발자 화면에서 설정편집을 클릭하고 claude_desktop_config.json 파일을 열어 아래 내용을 추가합니다.
"weather": {
    "command": "uv",
    "args": [
        "--directory",
        "D:\\python-vm\\weather",
        "run",
        "weather.py"
    ]
}
--directory 값은 weather.py가 위치한 경로로 수정합니다.
Claude Desktop 을 파일>종료 로 종료하고 다시 시작합니다.
도구(스패너)에 아래처럼(weather) 표시되면 제대로 서버를 인식한 것입니다.

이제 질문을 해봅니다. "새크리멘토의 날씨는 어때요?"

응답 중 도구 사용을 물어보게됩니다.

앞서 구축한 weather mcp 서버를 이용해 기상정보를 알려줍니다.

'IT > AI' 카테고리의 다른 글
| Claude Desktop 으로 MCP 사용해 내 컴퓨터 파일 조작하기 (0) | 2025.04.03 |
|---|---|
| OpenAI MCP Agents SDK 사용하기 (0) | 2025.04.02 |
| Claude Desktop 으로 MCP 이용해 보기 (0) | 2025.03.31 |
| ChatGPT 이미지 성능 향상 (0) | 2025.03.30 |
| 그림판 AI 기능 사용하기 (0) | 2025.03.27 |