C# gRPC 를 이용해 Server와 Client 통신 처리하기
C# gRPC 를 이용해 Server와 Client 통신 처리하기
Server 구성
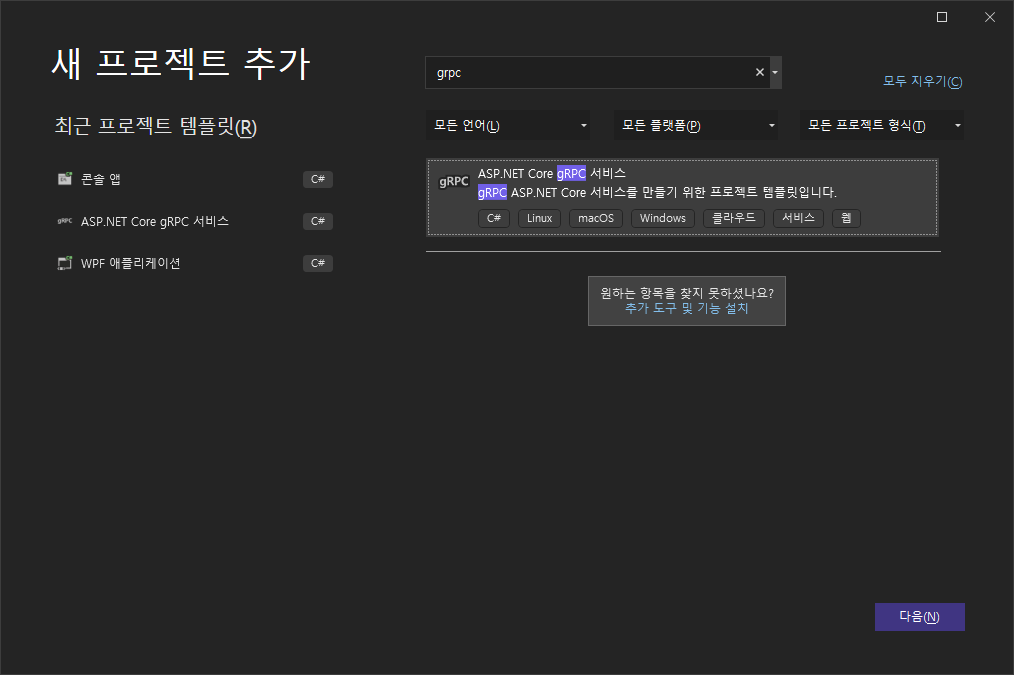
1. ASP.NET Core gRPC 서비스 프로젝트를 생성합니다.
2. proto 파일을 정의합니다.
HelloRequest 로 메세지를 보내고 HeloReply 로 응답하고 SayHello API 를 사용합니다.
syntax = "proto3";

option csharp_namespace = "GrpcServer";

package greet;

// The greeting service definition.
service Greeter {
  // Sends a greeting
  rpc SayHello (HelloRequest) returns (HelloReply);
}

// The request message containing the user's name.
message HelloRequest {
  string name = 1;
}

// The response message containing the greetings.
message HelloReply {
  string message = 1;
}
3. GreeterService.cs 에 동작을 정의합니다.
2번에서 Proto 에 정의한 내용과 동일합니다.
using Grpc.Core;

using GrpcServer;

namespace GrpcServer.Services
{
    public class GreeterService : Greeter.GreeterBase
    {
        private readonly ILogger<GreeterService> _logger;
        public GreeterService(ILogger<GreeterService> logger)
        {
            _logger = logger;
        }

        public override Task<HelloReply> SayHello(HelloRequest request, ServerCallContext context)
        {
            return Task.FromResult(new HelloReply
            {
                Message = "Hello " + request.Name
            });
        }
    }
}
4. Program.cs 에서 GreeterService Mapping 코드를 추가합니다.
builder.Services.AddGrpc();
app.MapGrpcService<GreeterService>();
using GrpcServer.Services;
var builder = WebApplication.CreateBuilder(args);
// Additional configuration is required to successfully run gRPC on macOS.
// For instructions on how to configure Kestrel and gRPC clients on macOS, visit https://go.microsoft.com/fwlink/?linkid=2099682
// Add services to the container.
builder.Services.AddGrpc();
var app = builder.Build();
// Configure the HTTP request pipeline.
app.MapGrpcService<GreeterService>();
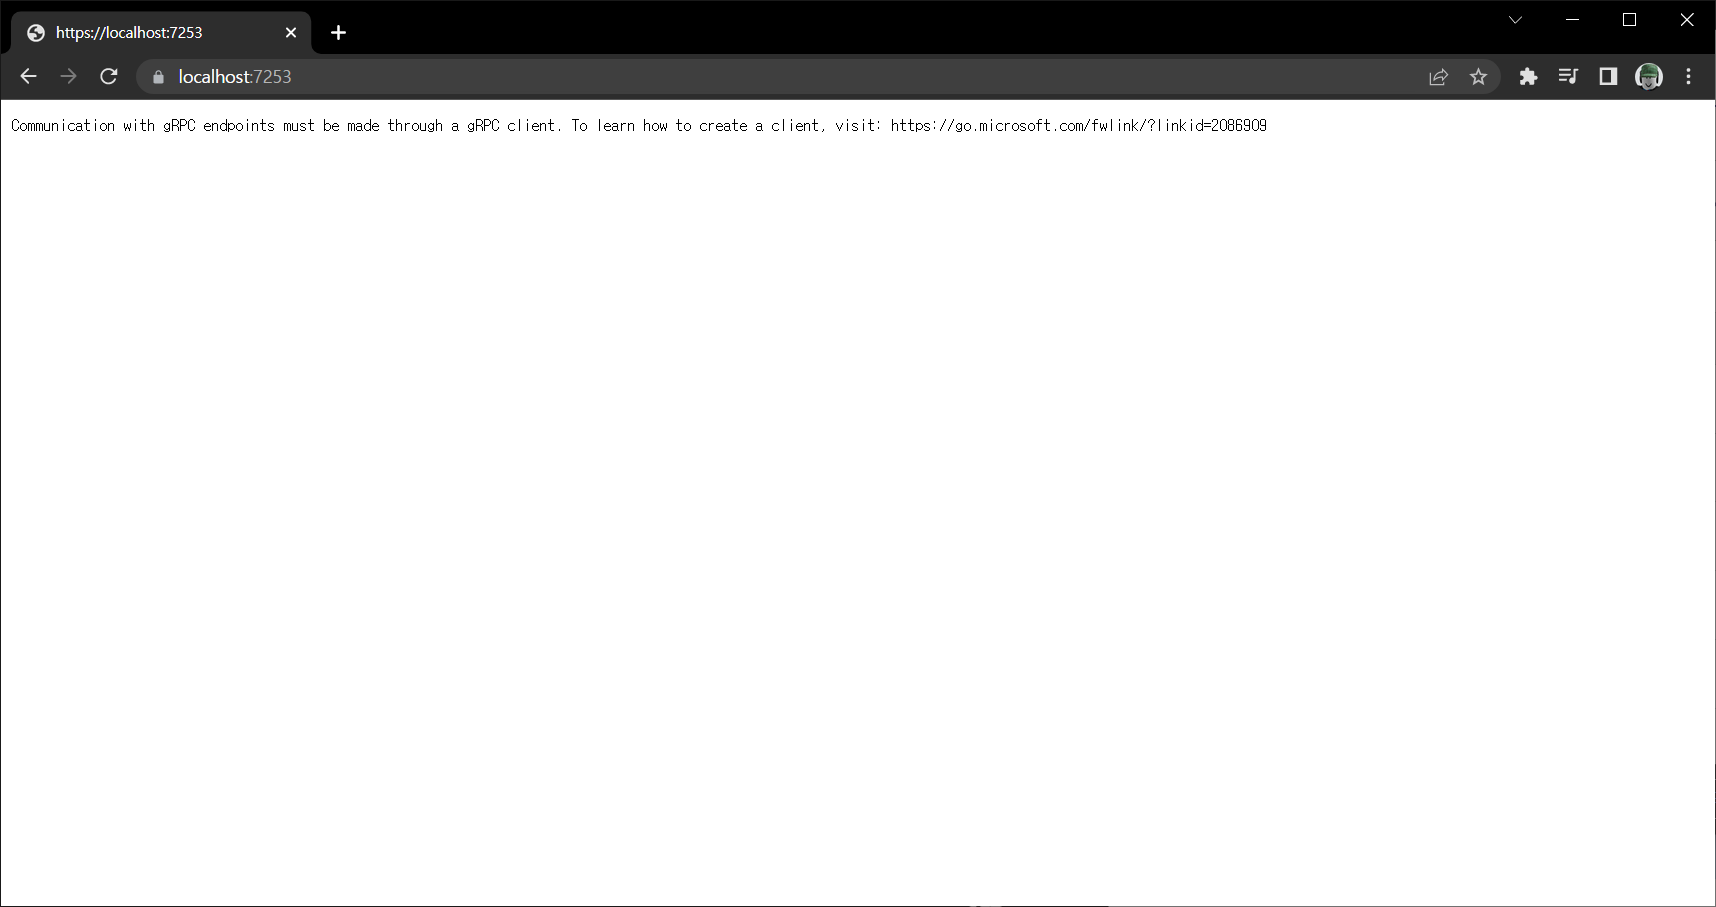
app.MapGet("/", () => "Communication with gRPC endpoints must be made through a gRPC client. To learn how to create a client, visit: https://go.microsoft.com/fwlink/?linkid=2086909");
app.Run();
5. Properties 의 launchSettings.json 파일에 서비스 주소 정의 및 기타 옵션을 설정합니다.
기본값으로 두면 되며 추가로 설정이 필요한 경우 수정합니다.
{
  "profiles": {
    "GrpcServer": {
      "commandName": "Project",
      "dotnetRunMessages": true,
      "launchBrowser": false,
      "applicationUrl": "http://localhost:5253;https://localhost:7253",
      "environmentVariables": {
        "ASPNETCORE_ENVIRONMENT": "Development"
      }
    }
  }
}
6. appsettings.json 파일에서 Protocols 정의 및 Log Level 을 지정합니다.
Protocols 에 http2 로 정의합니다.
{
  "Logging": {
    "LogLevel": {
      "Default": "Information",
      "Microsoft.AspNetCore": "Warning"
    }
  },
  "AllowedHosts": "*",
  "Kestrel": {
    "EndpointDefaults": {
      "Protocols": "Http2"
    }
  }
}
7. appsettings.Development.json 파일에서 Develope 모드 일 때 Info 도 로그가 찍히도록 Log Level 을 추가합니다.
"Microsoft.AspNetCore.Hosting": "Information",
"Microsoft.AspNetCore.Routing.EndpointMiddleware": "Information"
{
  "Logging": {
    "LogLevel": {
      "Default": "Information",
      "Microsoft.AspNetCore": "Warning",
      "Microsoft.AspNetCore.Hosting": "Information",
      "Microsoft.AspNetCore.Routing.EndpointMiddleware": "Information"
    }
  }
}
8. Server를 실행합니다.
프로젝트를 실행합니다.
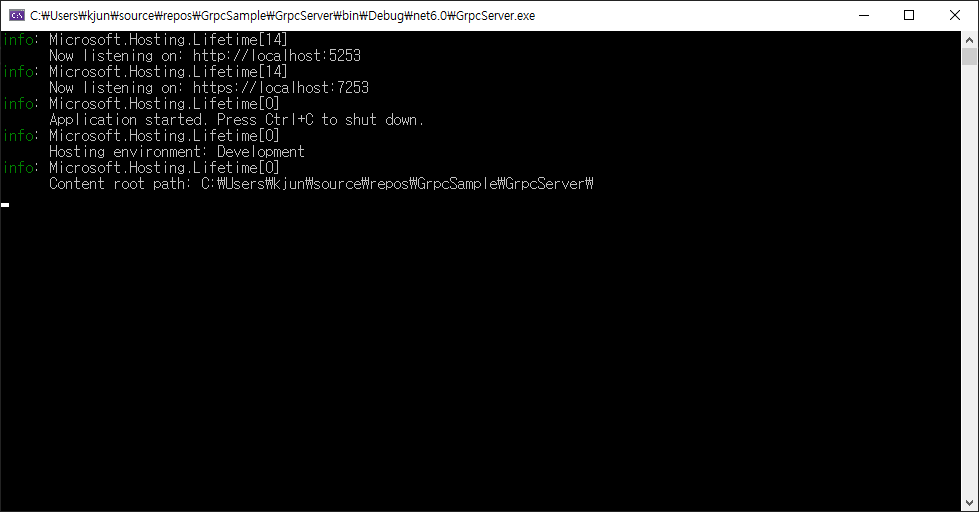
9. 결과 web page 를 확인합니다.
Client 구성
1. 콘솔앱 프로젝트를 생성합니다.

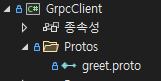
2. Server 에서 만들어진 proto 파일을 동일하게 Protos 폴더를 만들어 복사/붙여 넣기 합니다.
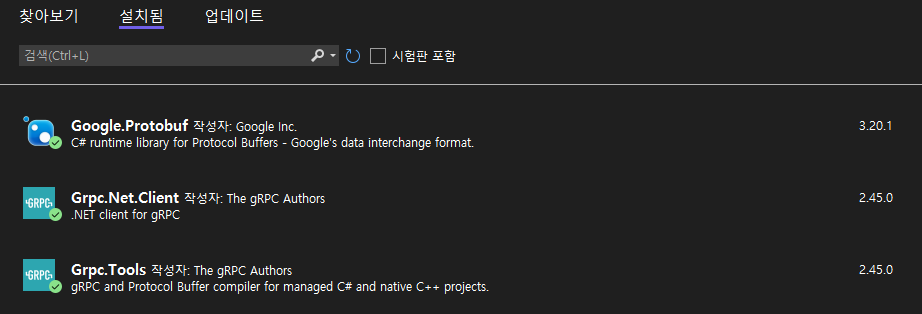
3. ProtoBuf 에 필요한 Nuget 패키지를 설치합니다.
Google.Protobuf
Grpc.Net.Client
Grpc.Tools
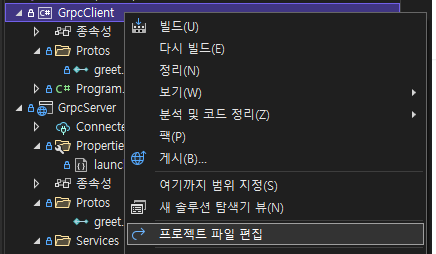
4. 프로젝트파 일을 편집합니다.
프로젝트를 더블클릭하거나 아래처럼 우클릭 메뉴의 프로젝트 파일 편집을 선택합니다.
<Protobuf Include="Protos\greet.proto" GrpcServices="Server" /> 부분을 Client 로 아래처럼 바꿉니다.
<Protobuf Include="Protos\greet.proto" GrpcServices="Client" />
<Project Sdk="Microsoft.NET.Sdk">

  <PropertyGroup>
    <OutputType>Exe</OutputType>
    <TargetFramework>net6.0</TargetFramework>
    <ImplicitUsings>enable</ImplicitUsings>
    <Nullable>enable</Nullable>
  </PropertyGroup>

  <ItemGroup>
    <None Remove="Protos\greet.proto" />
  </ItemGroup>

  <ItemGroup>
    <PackageReference Include="Google.Protobuf" Version="3.20.1" />
    <PackageReference Include="Grpc.Net.Client" Version="2.45.0" />
    <PackageReference Include="Grpc.Tools" Version="2.45.0">
      <PrivateAssets>all</PrivateAssets>
      <IncludeAssets>runtime; build; native; contentfiles; analyzers; buildtransitive</IncludeAssets>
    </PackageReference>
  </ItemGroup>

  <ItemGroup>
    <Protobuf Include="Protos\greet.proto" GrpcServices="Client" />
  </ItemGroup>

</Project>
5. 빌드합니다.
빌드하게 되면 proto 파일을 이용해 c# 코드가 생성됩니다. (솔루션 탐색기에서 표시되지 않음)
6. 서버 연결 및 통신
using System.Threading.Tasks;
using Grpc.Net.Client;
using GrpcClient;
using var channel = GrpcChannel.ForAddress("http://localhost:5253");
var client = new Greeter.GreeterClient(channel);
var reply = await client.SayHelloAsync(new HelloRequest { Name = "GreeterClient" });
Console.WriteLine("Greeting: " + reply.Message);
Console.WriteLine("Press any key to exit...");
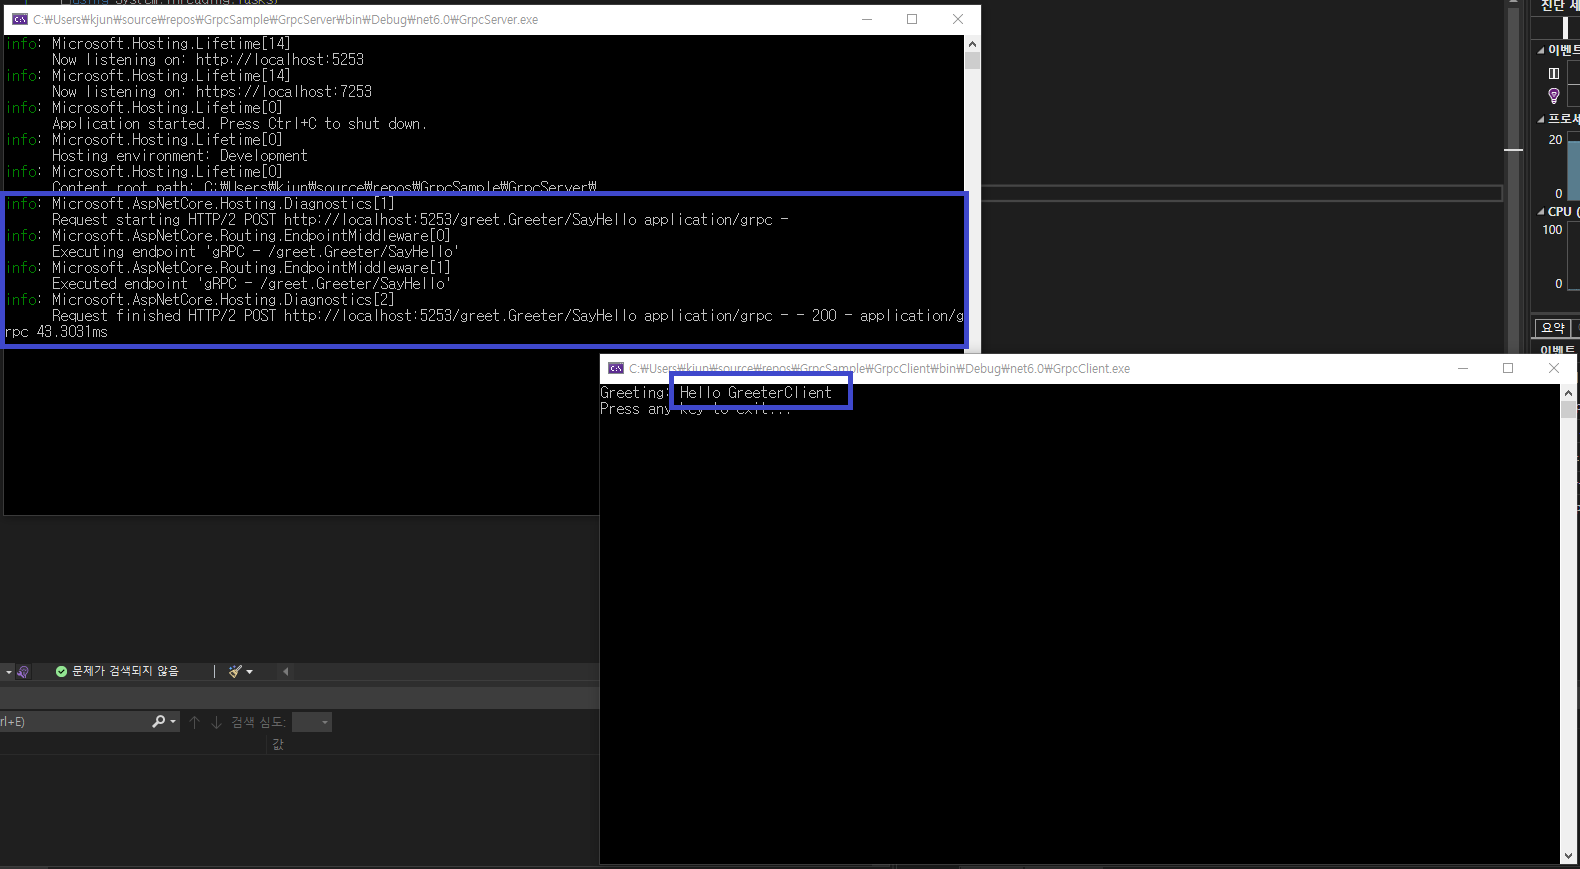
Console.ReadKey();https 로 연결하면 SSL 인증서를 요구하게 되므로 테스트는 http 로 합니다.
SayHelloAsync 로 서버 쪽에 요청을 하게 되면 서버 측에서는 받은 메세지 앞에 Hello 를 붙여 반환합니다.
아래는 서버와 클라이언트 간에 테스트 결과입니다.
소스 : https://github.com/kei-soft/GrpcSample
GitHub - kei-soft/GrpcSample
Contribute to kei-soft/GrpcSample development by creating an account on GitHub.
github.com
ASP.NET Core에서 .NET Core gRPC 클라이언트 및 서버 만들기
이 자습서는 ASP.NET Core에서 gRPC 서비스 및 gRPC 클라이언트를 만드는 방법을 보여줍니다. gRPC 서비스 프로젝트를 만들고, proto 파일을 편집하고, 이중 스트리밍 호출을 추가하는 방법을 알아봅니다
learn.microsoft.com
'코딩 > C#' 카테고리의 다른 글
| C# gRPC Streaming 에러 HTTP/2 INTERNAL_ERROR (0) | 2024.04.25 |
|---|---|
| C# gRPC Streaming (0) | 2024.04.25 |
| C# Prometheus, OpenTelemetry 이용하여 매트릭 데이터 보기 (0) | 2024.04.24 |
| C# Metric 데이터 수집하고 모니터링 하기 (dotnet-counters) (0) | 2024.04.24 |
| C# Array.ConvertAll 사용하기 (0) | 2024.04.24 |